3D Scanning and Printing
Printing items that can't be machined
Overview
During the How to Make Almost Anything class, we spent a week discussing 3D printing and scanning. We were shown how to use the 3D printers (both 1 material and 2 material printers) and how to use the 3D scanner. Our assignment for the week was to try to print something that couldn't be machined (to show where additive manufacturing beats subtractive manufacturing) and to try to scan some object. I took advantage of the open assignment nature, and used this week to learn Rhino and Grasshopper parametric modeling. My goal was to create some unique 3D parametric shapes to print. After many, many, many hours of staring at Grasshopper and Rhino, I eventually figured a few things out.
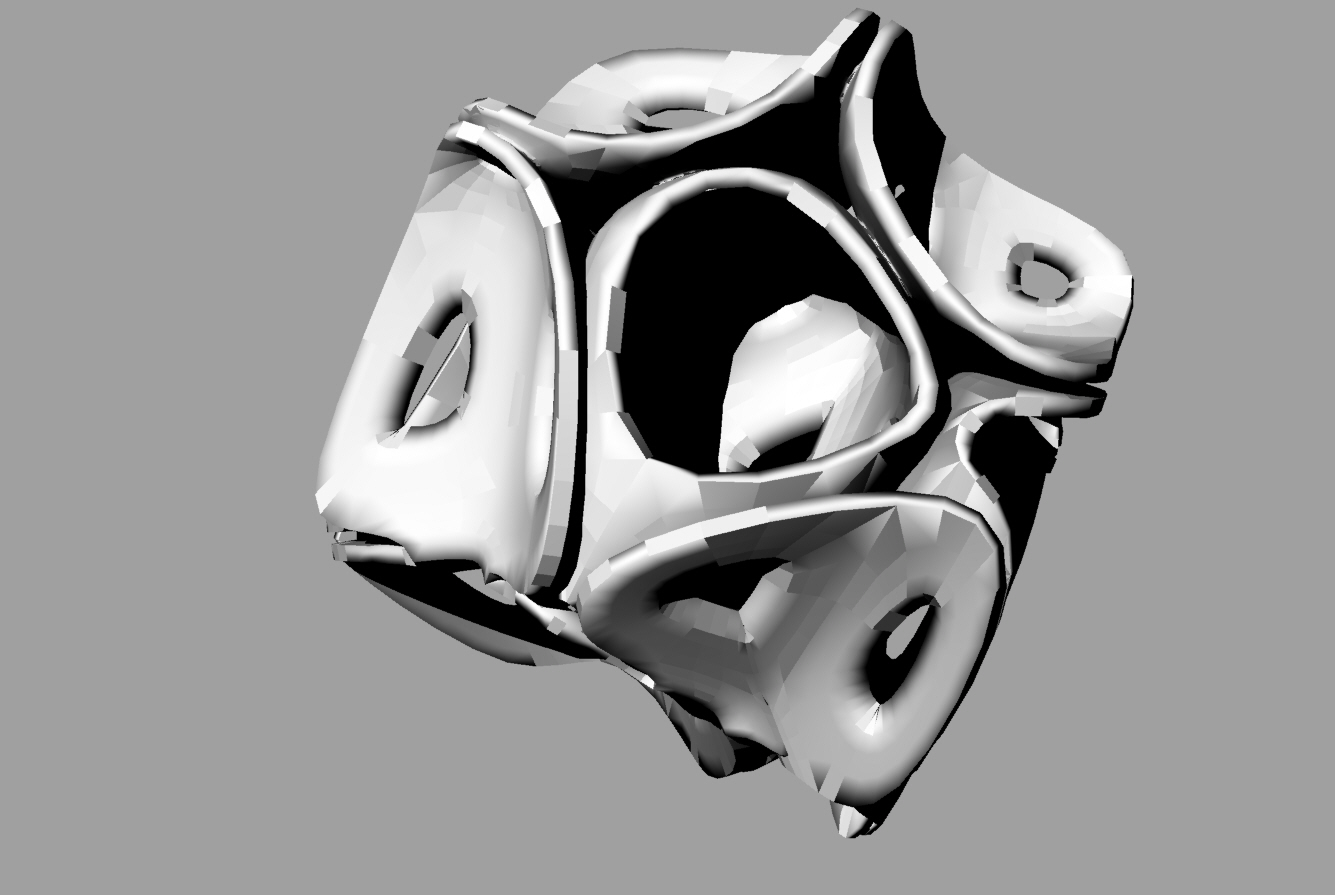
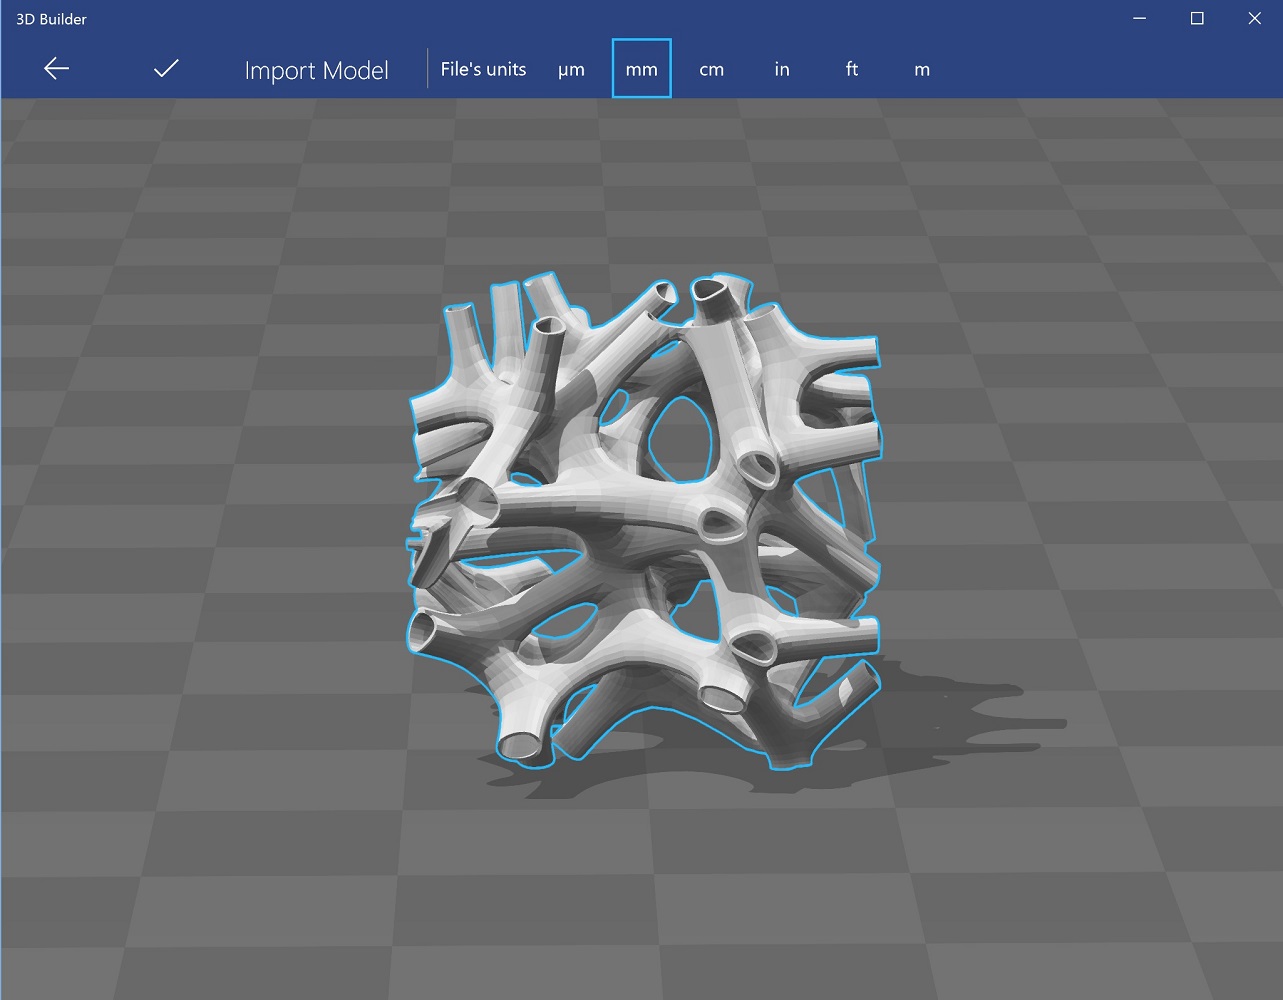
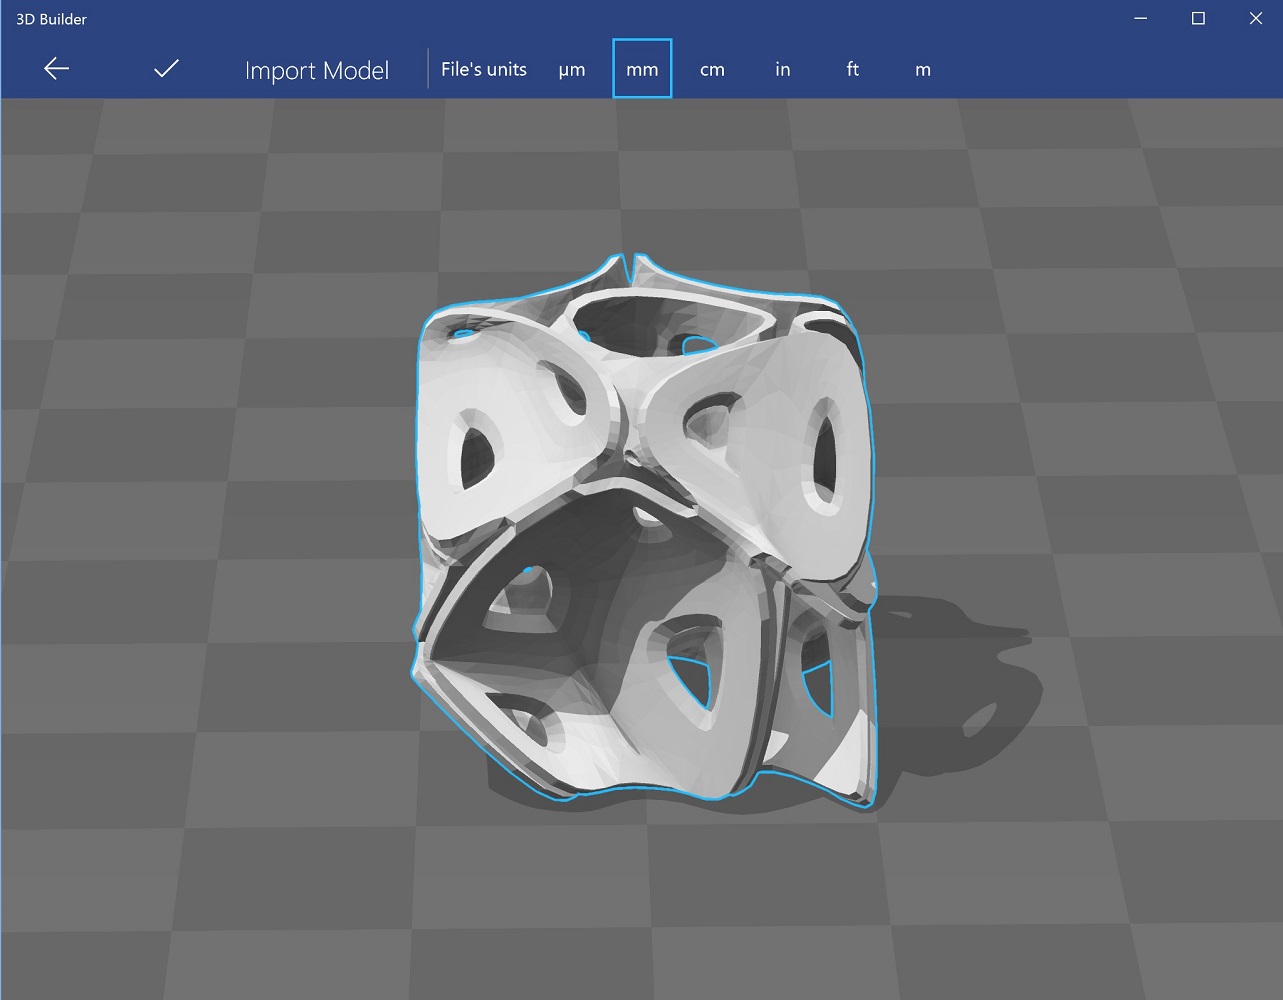
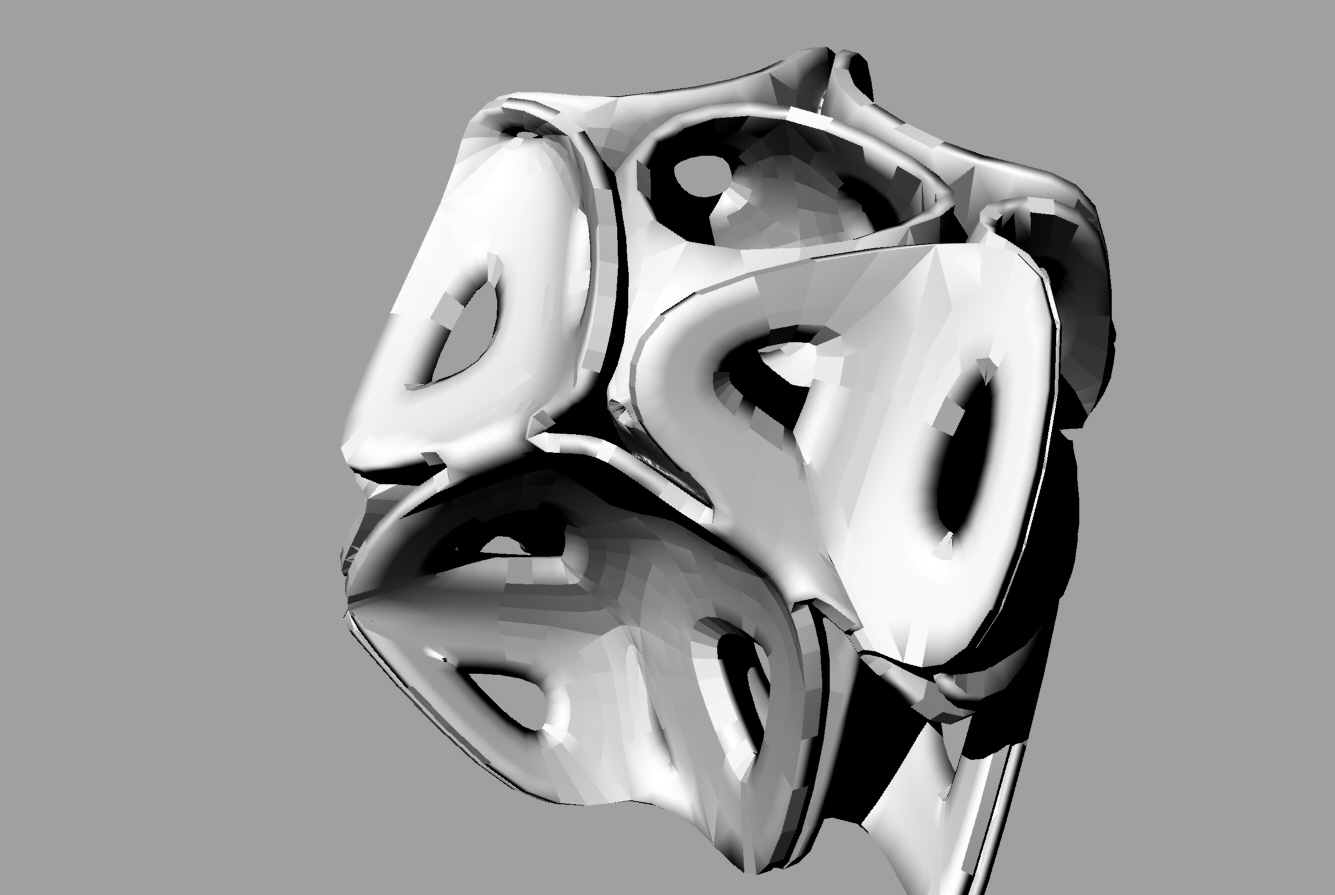
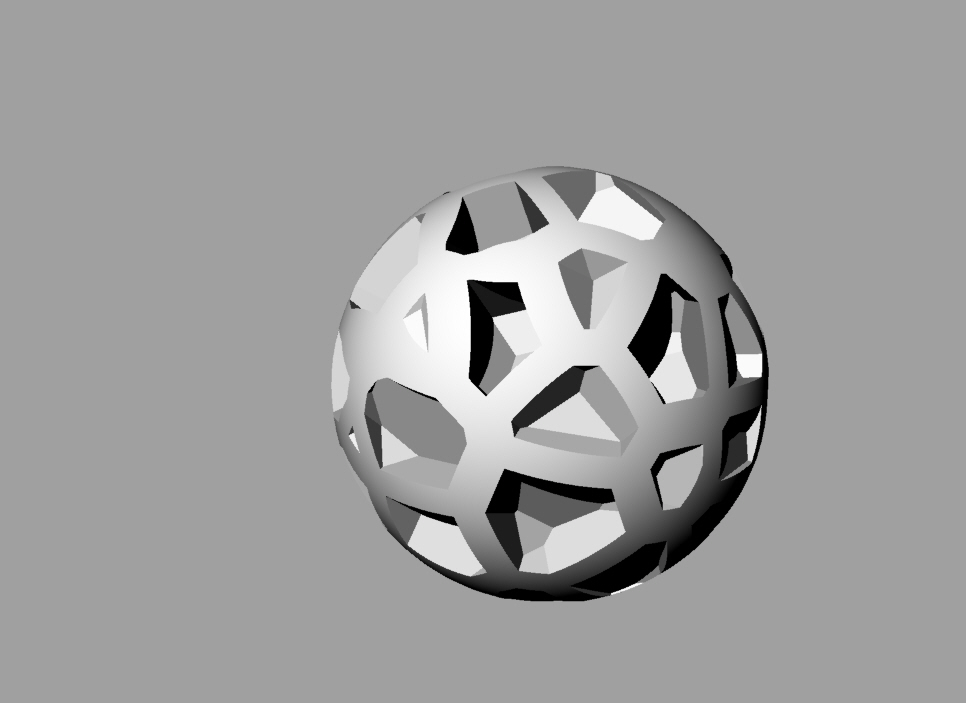
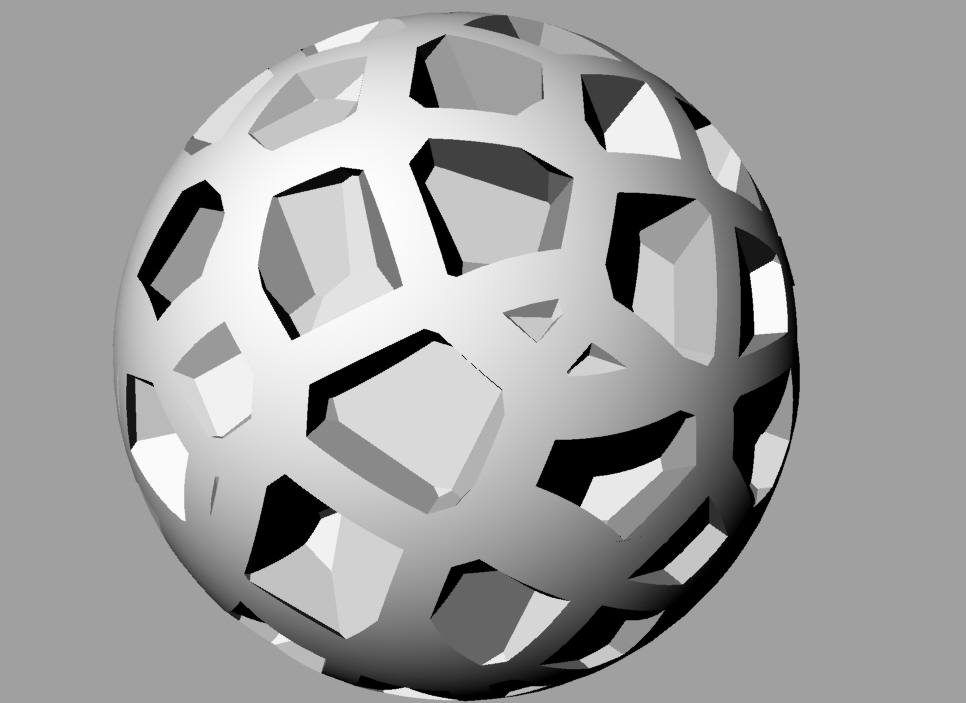
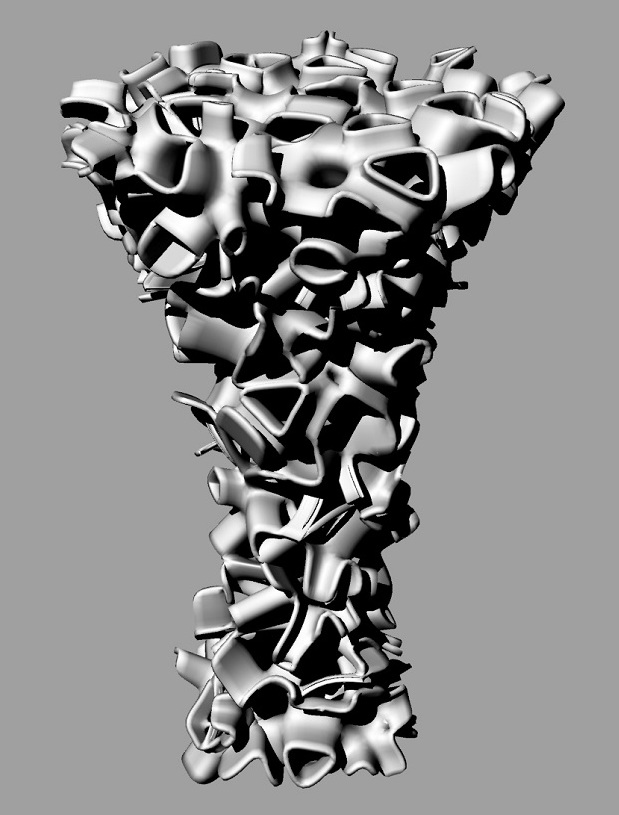
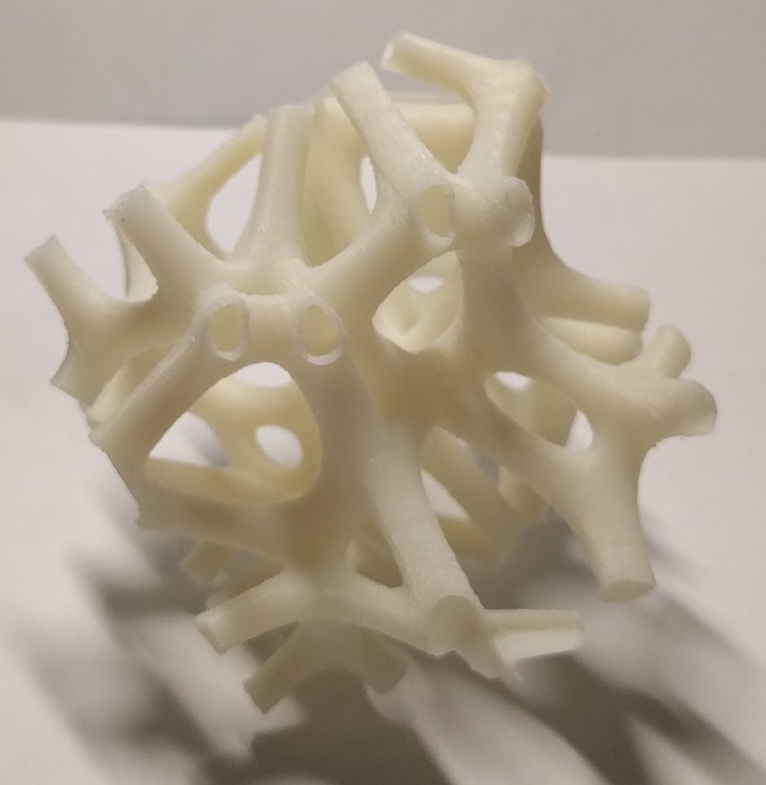
Above: Several of the final objects that I designed after being rendered in Rhino. They were designed using Grasshopper parametric modeling with a WeaverBird plugin. The topology comes from using 3D Voronoi Cells as discussed below.
Initial Idea Formulation
Upon hearing the assignment for the week, I knew that I wanted to do something with parametric strucutres. I had heard that Rhino and Grasshopper were good at this, so I decided to give them a try (many, many hours later, I still understand very little about how they work... and how they don't work...). I did a bit of research on how they cool parametric structures are created in Grasshopper, and happened upon voronoi cells. I've heard of voronoi cells before, as they are used a bit in Materials Science, but I had no idea they were the basis of some really cool algorithms in Grasshopper.
A bit of background on voronoi cells and diagrams
Voronoi diagrams are widely used in computer science, architecture, materials science, chemistry, and a variety of other fields. According to Wikipedia, a Voronoi diagram is a "partitioning of a plane into regions based on distance to points in a specific subset of the plane. That set of points (called seeds, sites, or generators) is specified beforehand, and for each seed there is a corresponding region consisting of all points closer to that seed than to any other. These regions are called Voronoi cells. The Voronoi diagram of a set of points is dual to its Delaunay triangulation."
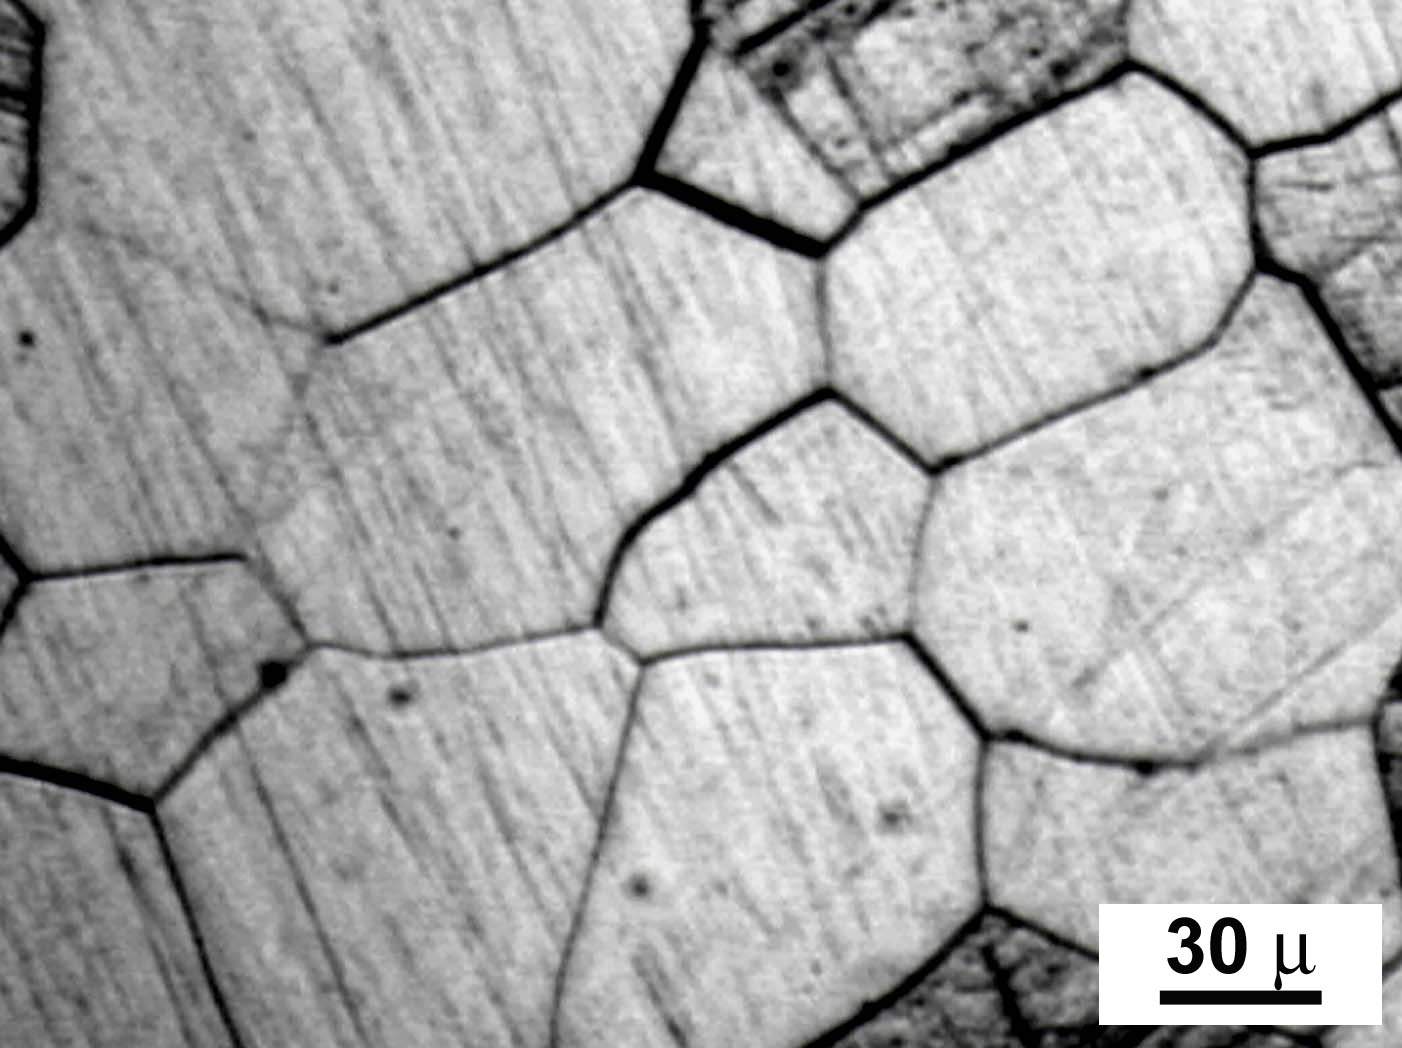
Above: The image on the left depicts a geometric Euclidian distance representation of a 2D voronoi tessellation. The image on the right depicts some grains in a metal sample under a microscope. The grain boundarys follow voroni behavior because as the material cools from a liquid state, the seed crystals grow evenly in 3 dimensions at a constant rate, forming 3D voronoi cells.
Every pixel in a colored region in the above image is closer to the central (seed) point in that colored region than any other seed point in a different colored region. Every point in the pink region is closer to the pink seed point that to any other seed point in the red or green or blue region for example.
The above 2D Voronoi diagram can also be done in 3D to create 3-Dimensional Voronoi cells. In general, a cross section of a 3D Voronoi tessellation is not in itself a 2D Voronoi tessellation.
Grasshopper Algorithm
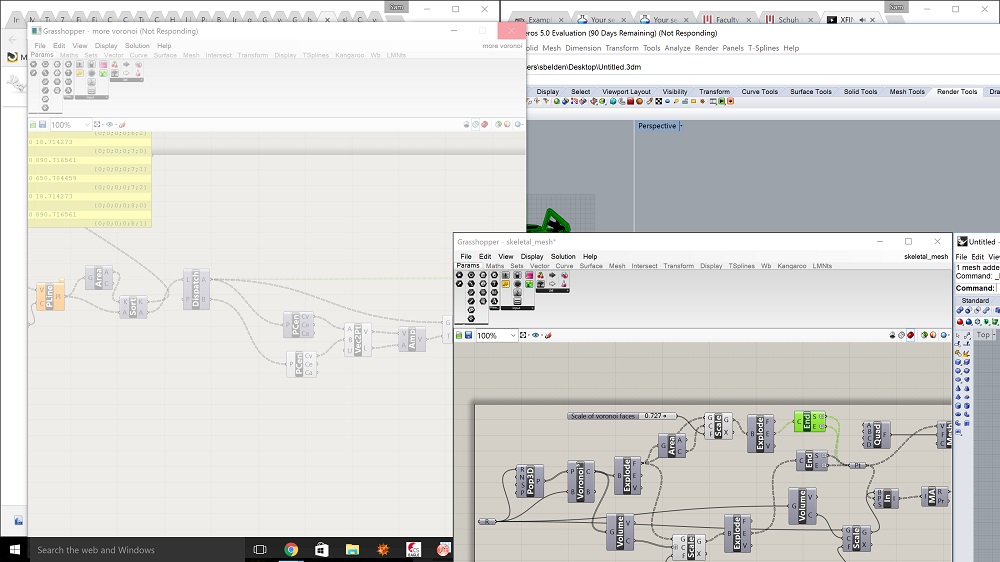
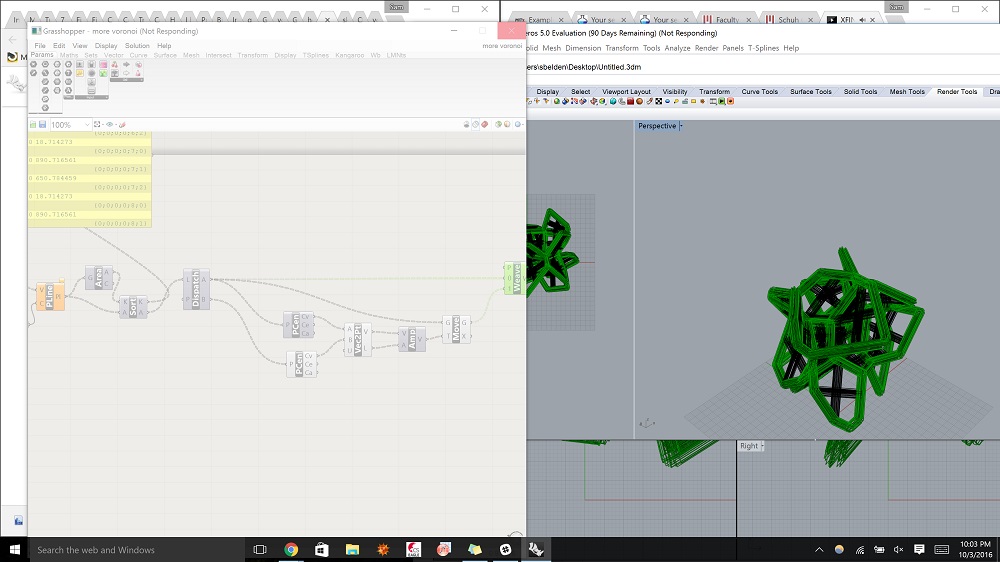
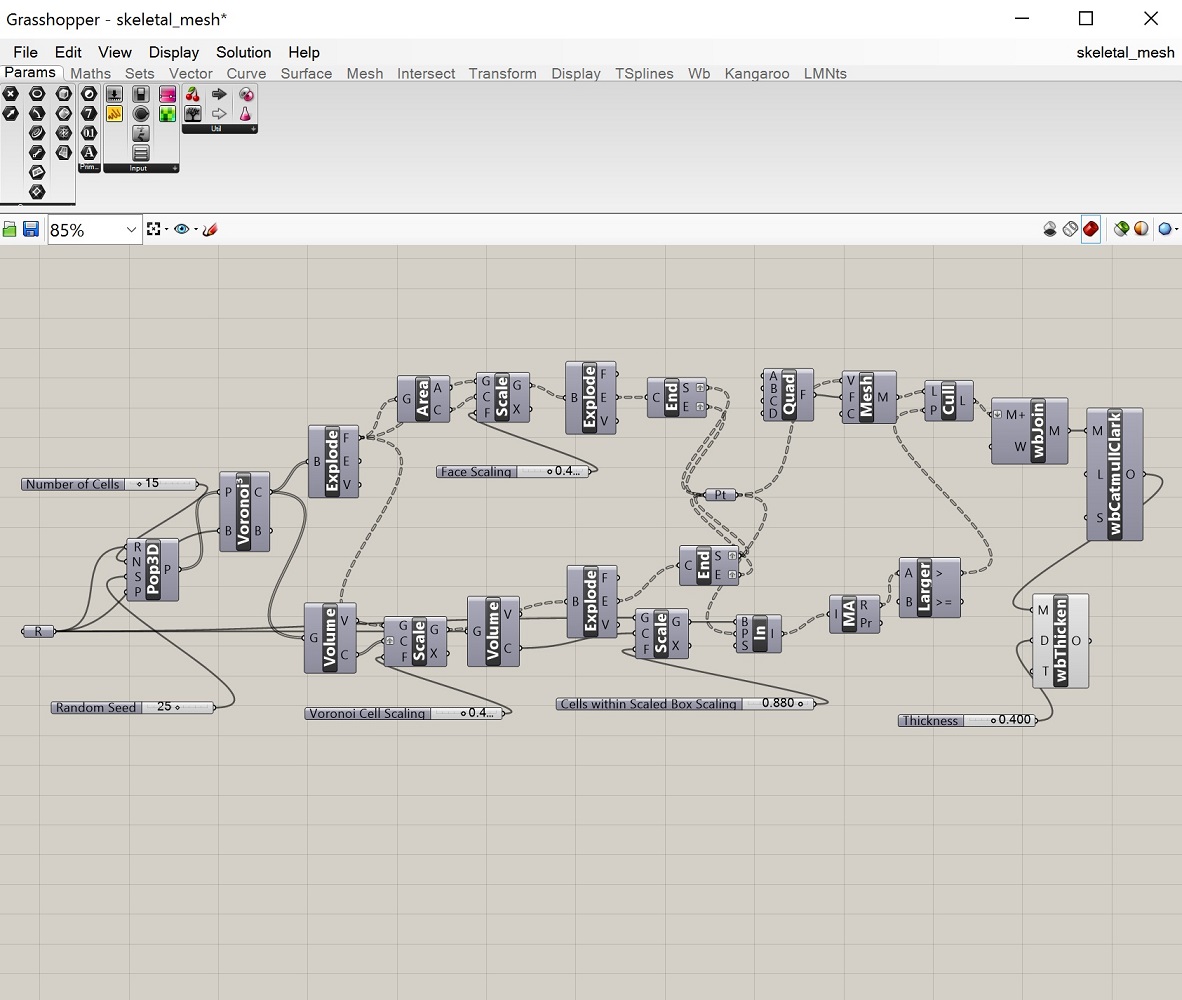
Above: The images show the Grasshopper nodes and general workflow to make the voronoi cell paterns in the objects below.
I developed most of the initial Grasshopper workflow that generates and scales the voronoi cells myself, and combined a few different workflow algorithms for joining the meshes together that I found online. Surprisingly, it seems to work okay.
The general workflow is described below:
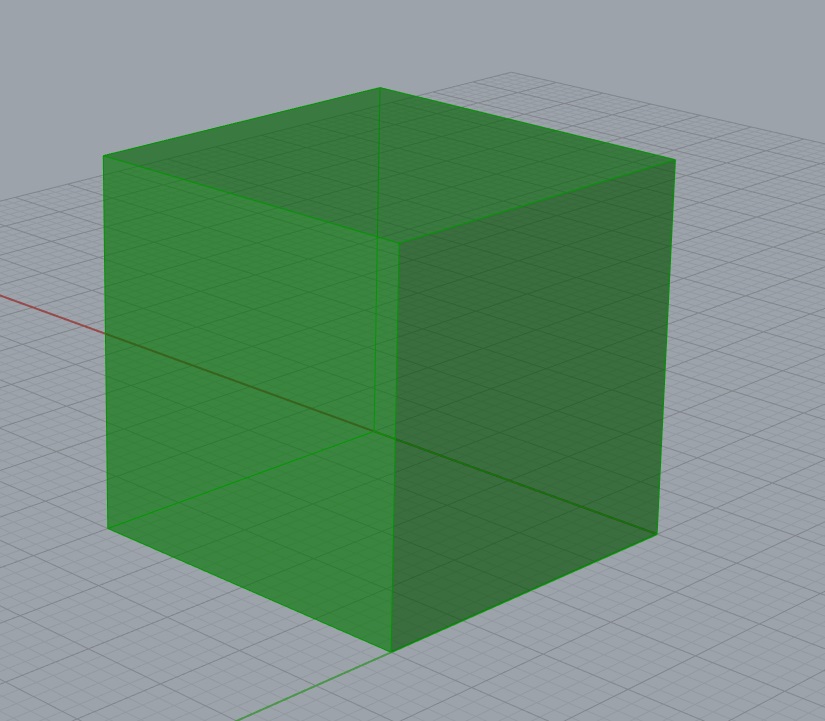
- A brep (box, sphere, region, etc.) is formed
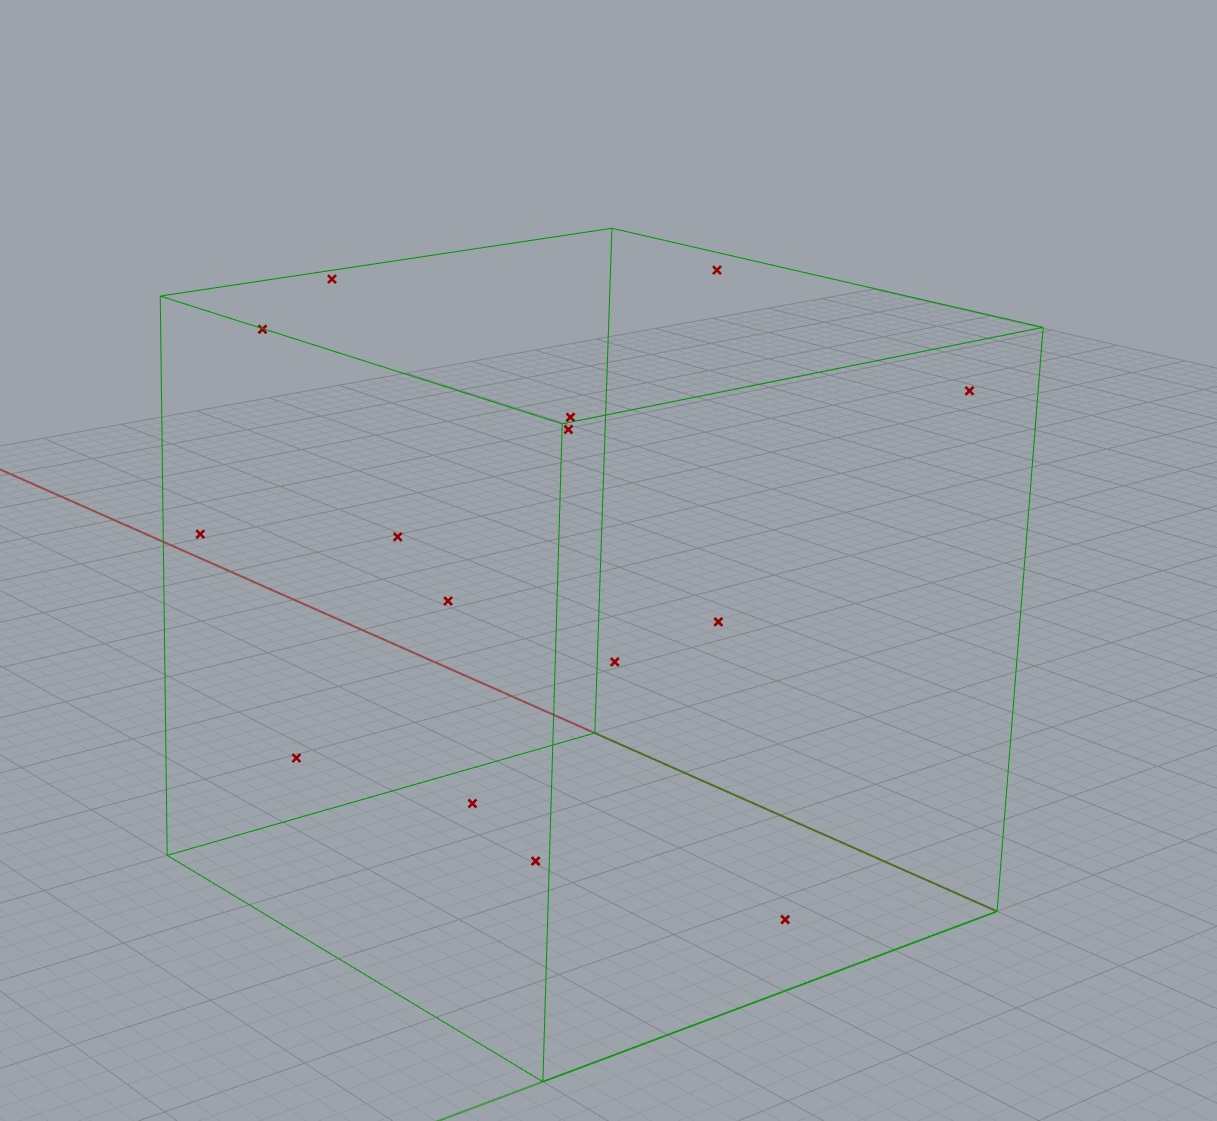
- That brep - which I will call a box from here on out - is filled with a certain amount of random points
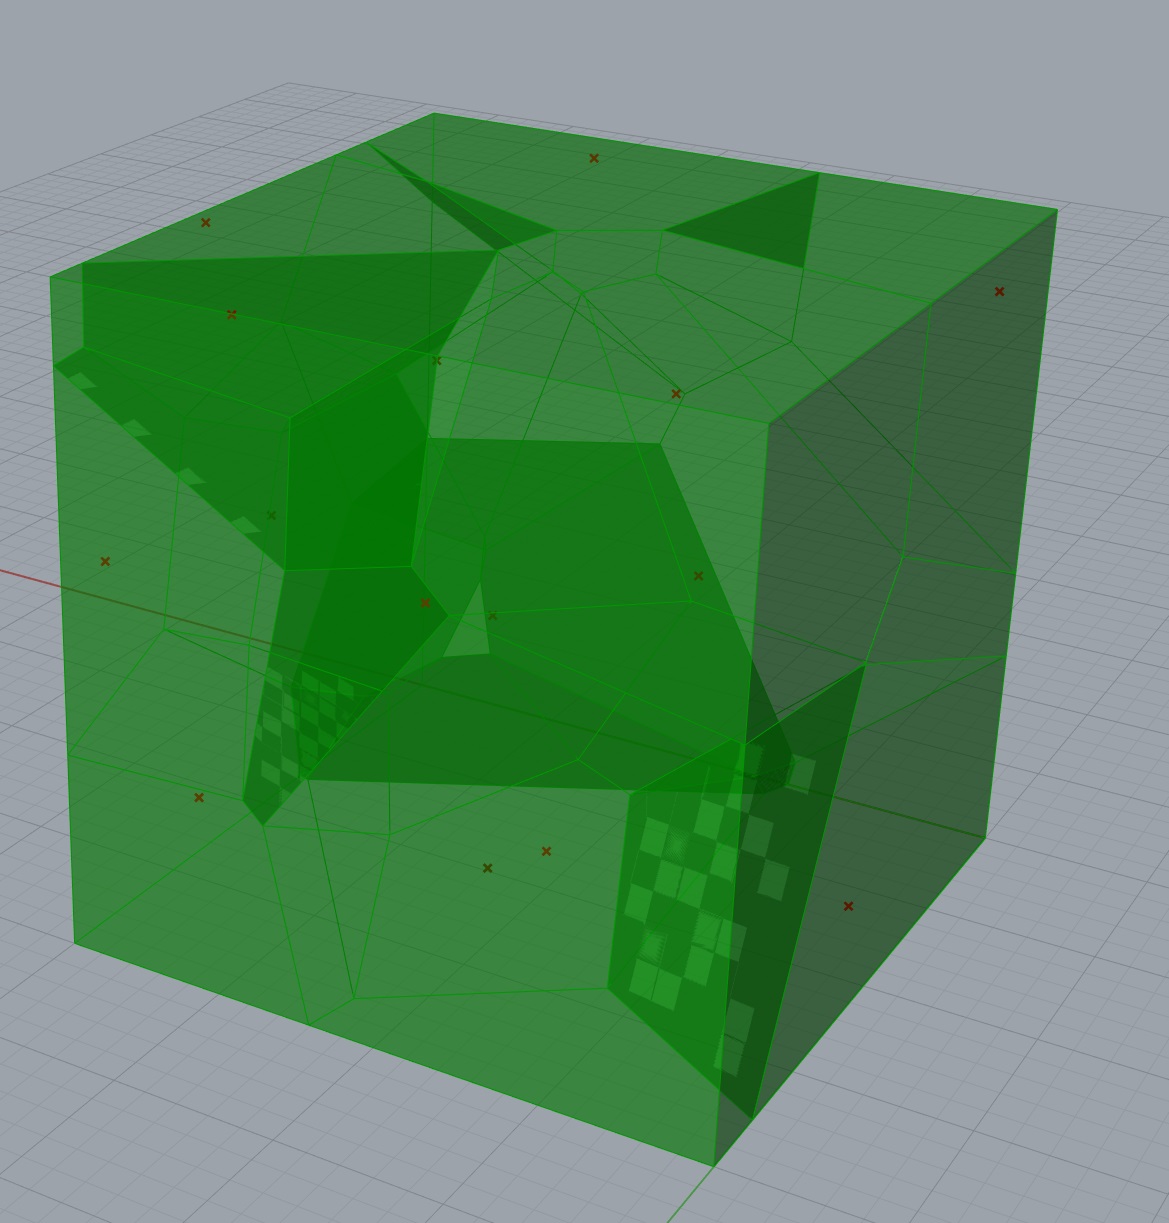
- Those points are used as the seed points for a 3D voronoi tessellation algorithm built into Grasshopper
- The voronoi cells are exploded into all of the constituent faces, and those faces are scaled down in size to seperate them from each other
- The vornoi cells themselves are scaled down to seperate them from each other
- The vertices from both the scaled down voronoi cells and the scaled down faces are combined together into a giant list
- This list is then culled from points outside a scaled down box (brep) - the points outside this scaled down box are removed from the list
- These points are then combined into meshes to form the mesh surfaces that form the basis of the objects
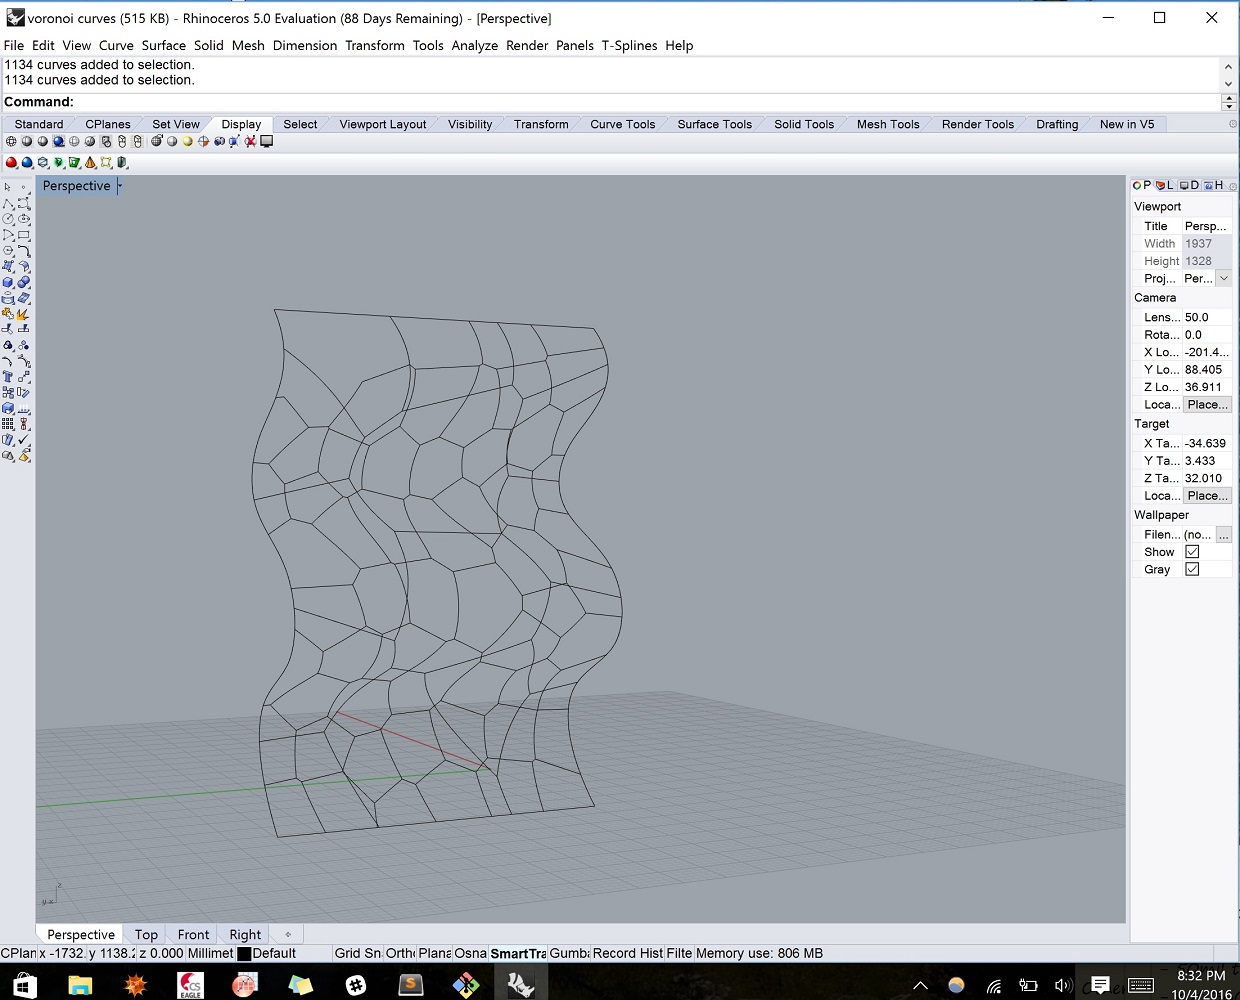
- These mesh units are then joined together, smoothed out using an algorithm from a plugin called WeaverBird, and thickened (changing the mesh to a solid, printable object)
The object can then be rendered or exported as an STL file for printing.
Process of Developing a 3D Voronoi Tessellation
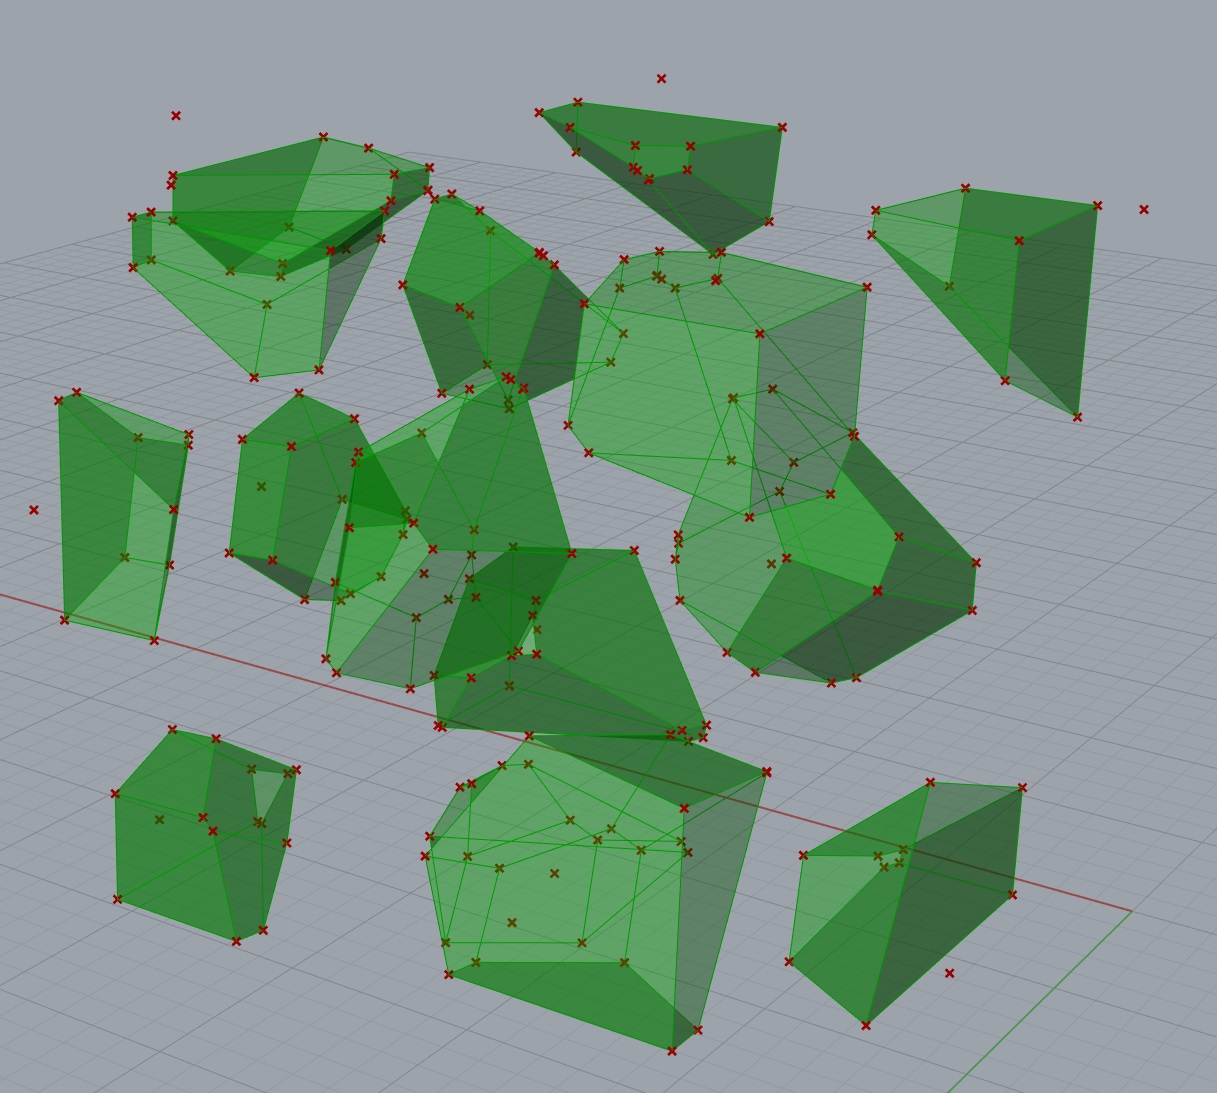
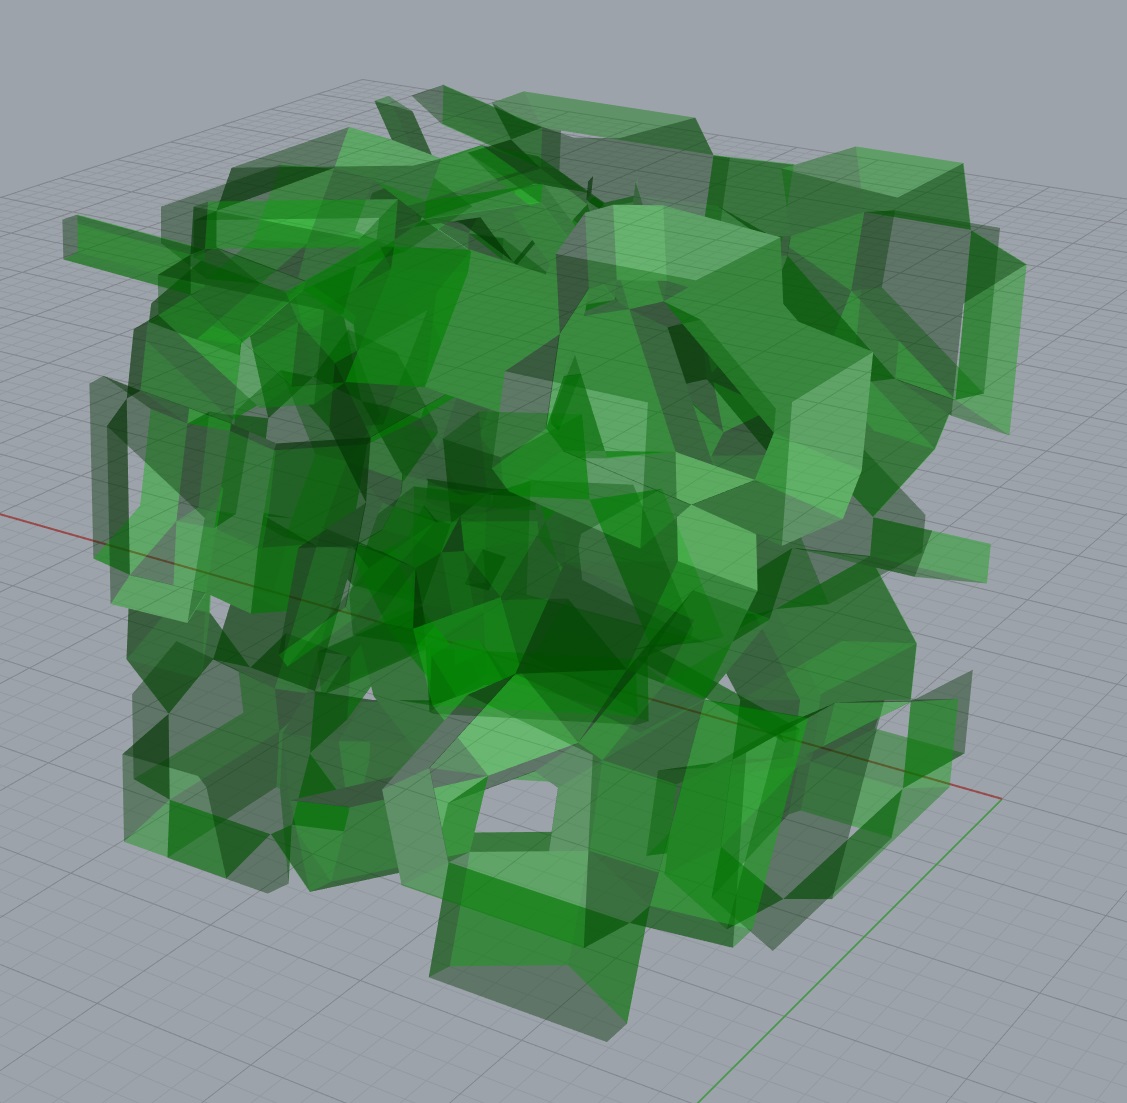
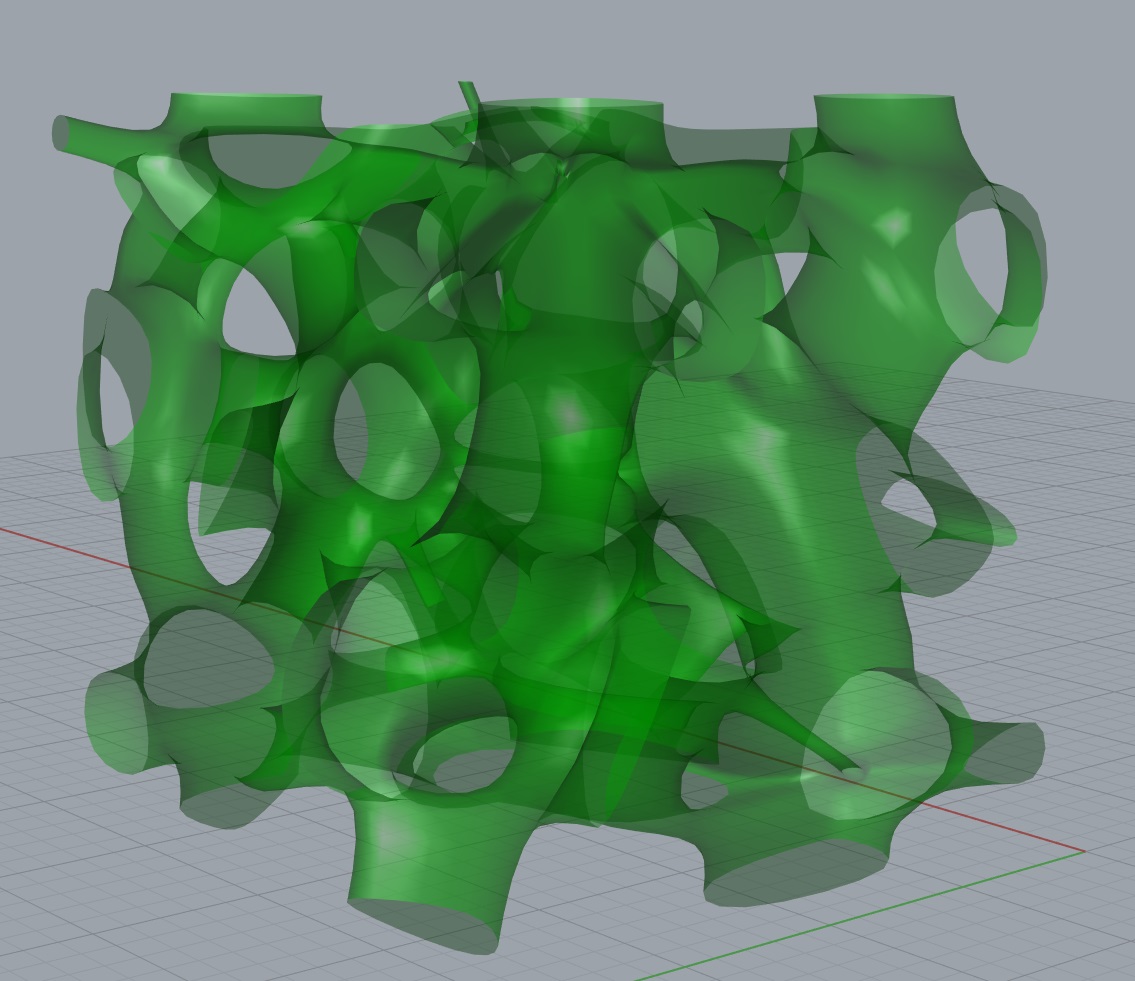
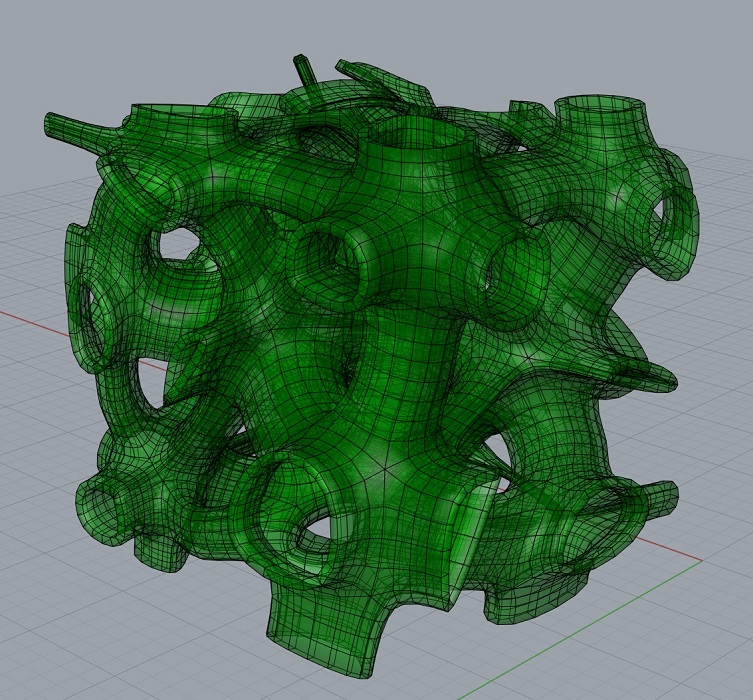
Above: General process workflow in Rhino going from an empty box brep to a 3D printable voronoi tessellated shape.
Various pieces that I made

